This post may contain affiliate links. Please read our disclosure policy.

A delicious science experiment at home, Homemade Marshmallows are fun little treats that only require a thermometer for perfect results. The best part is that this is a small batch recipe, so if you’re nervous, start here!
We don’t make homemade marshmallows because it’s easier than buying a bag. We make marshmallows from scratch because doing so feels like a science experiment. But also: because of the flavor!
Homemade marshmallows are bursting with real vanilla extract, while the store bought ones use synthetic or leave it out altogether to save money. The choice is yours.
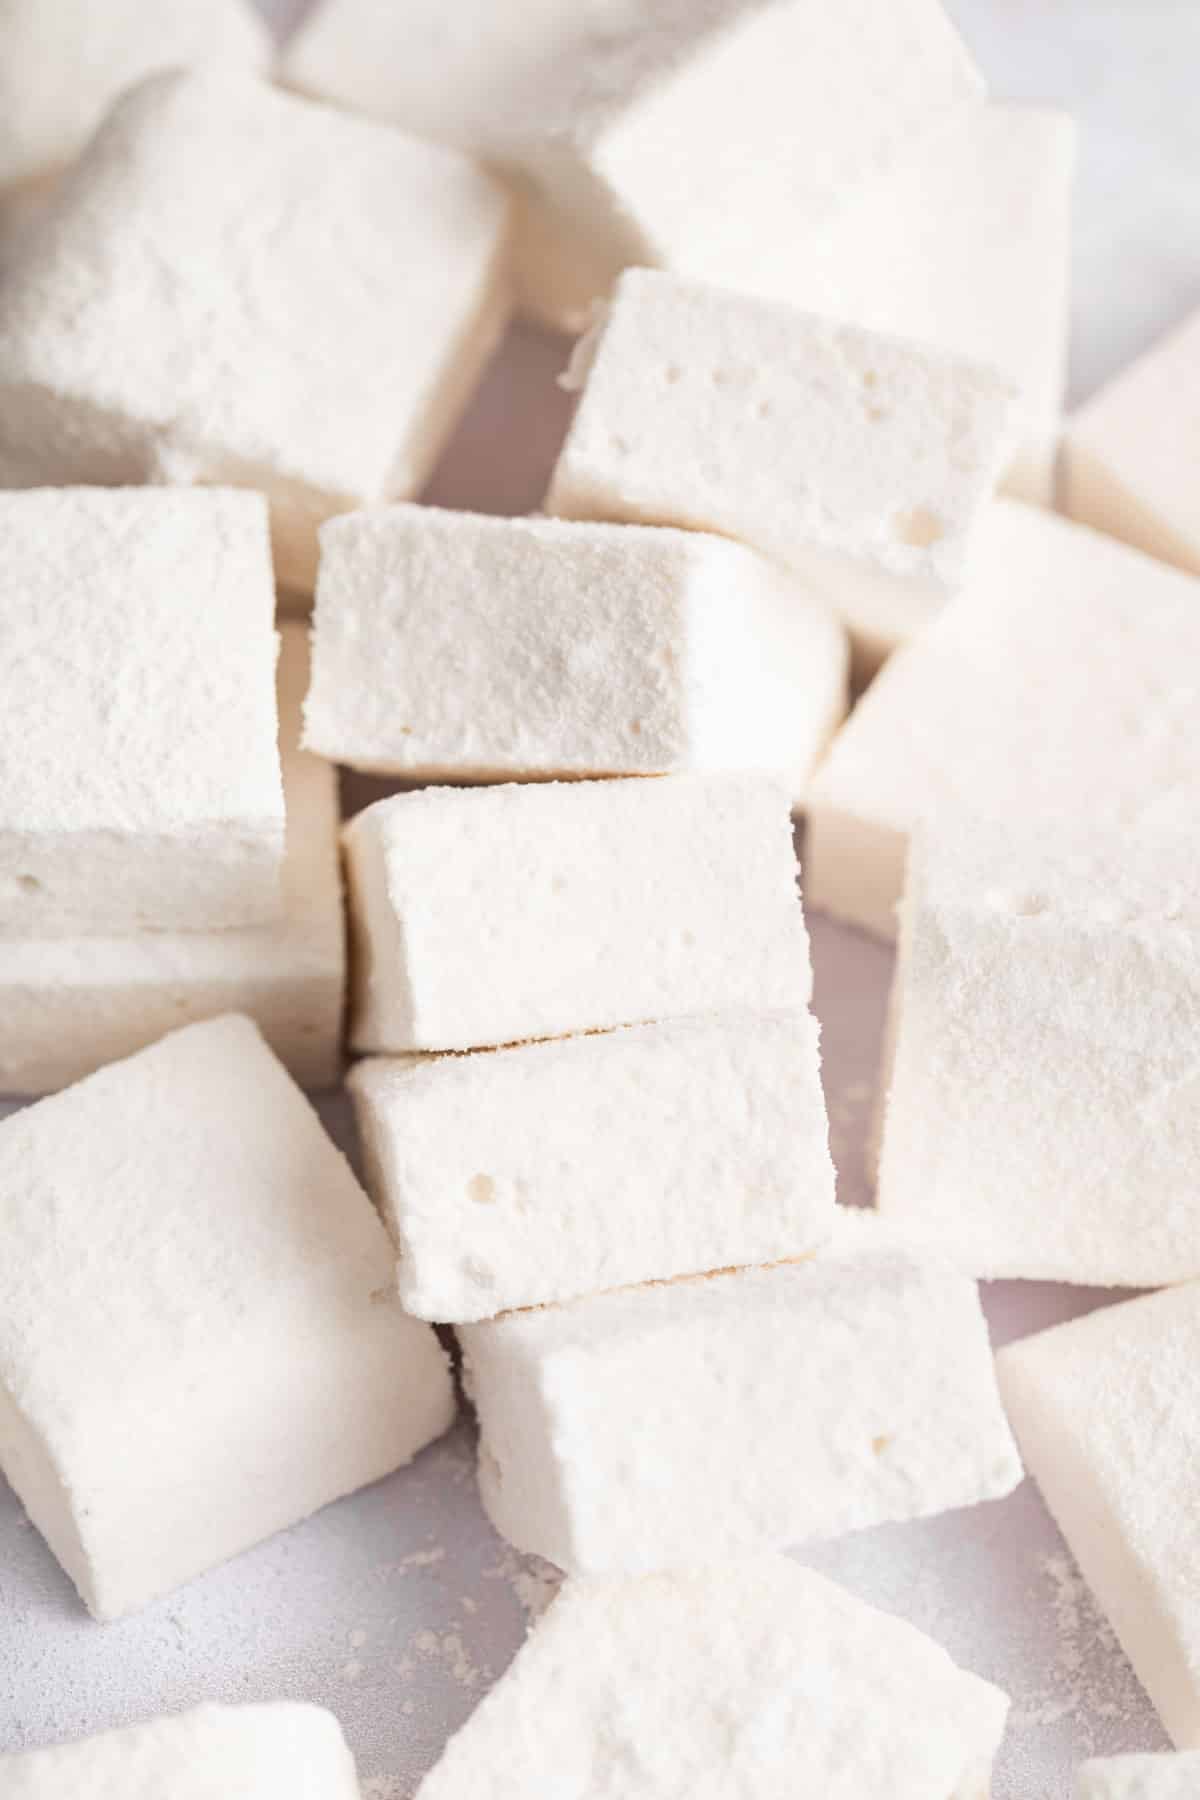
If you’re intimidated on working with gelatin, start with my recipe because it’s a small batch of marshmallows! I spread the gooey batter in a bread loaf pan, and when sliced, you get 8 large marshmallows.
Ingredients
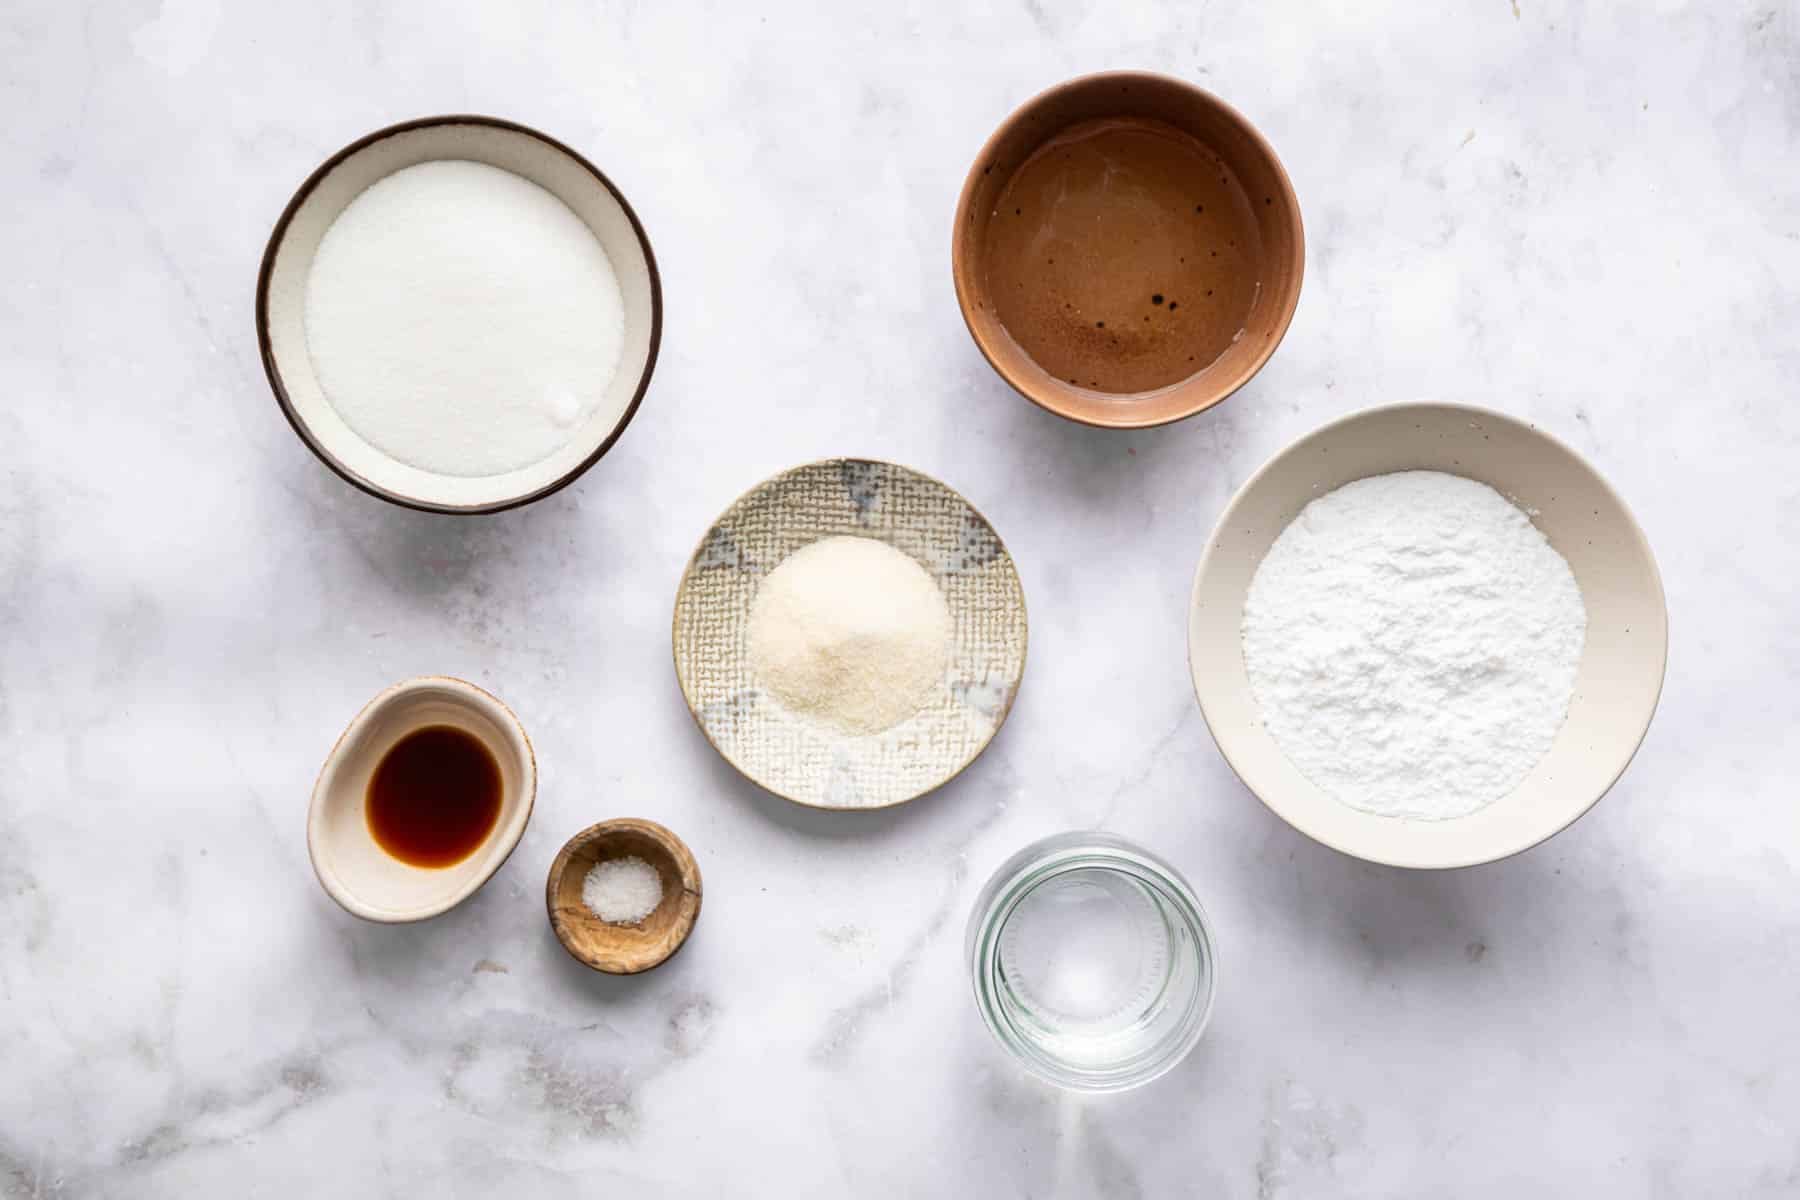
- Sugar. Three-quarters of a cup of granulated sugar. No substitutes.
- Corn Syrup. One-third cup of clear (light) corn syrup. Also, not substitutes, but if you don’t like corn syrup, you should see my recipe for marshmallows without corn syrup.
- Salt. The smallest pinch of salt in the sugar mixture is essential for me.
- Water. We need 6 tablespoons of cool water total. We’ll use 3 tablespoons for melting the sugar and corn syrup, and another 3 tablespoons for blooming the gelatin.
- Gelatin. Two and a half teaspoons of unflavored plain gelatin powder. No substitutions, and no, I do not know how to make this recipe with gelatin sheets because I don’t have those in my grocery store.
- Vanilla. One-half teaspoon of vanilla extract. If you’re feeling fancy, you can scrape half of a vanilla bean for this recipe instead!
- Powdered Sugar. We need roughly 3/4 cup of powdered sugar for rolling the homemade marshmallows in. Every cut or exposed edge is super sticky unless it’s rolled in powdered sugar!
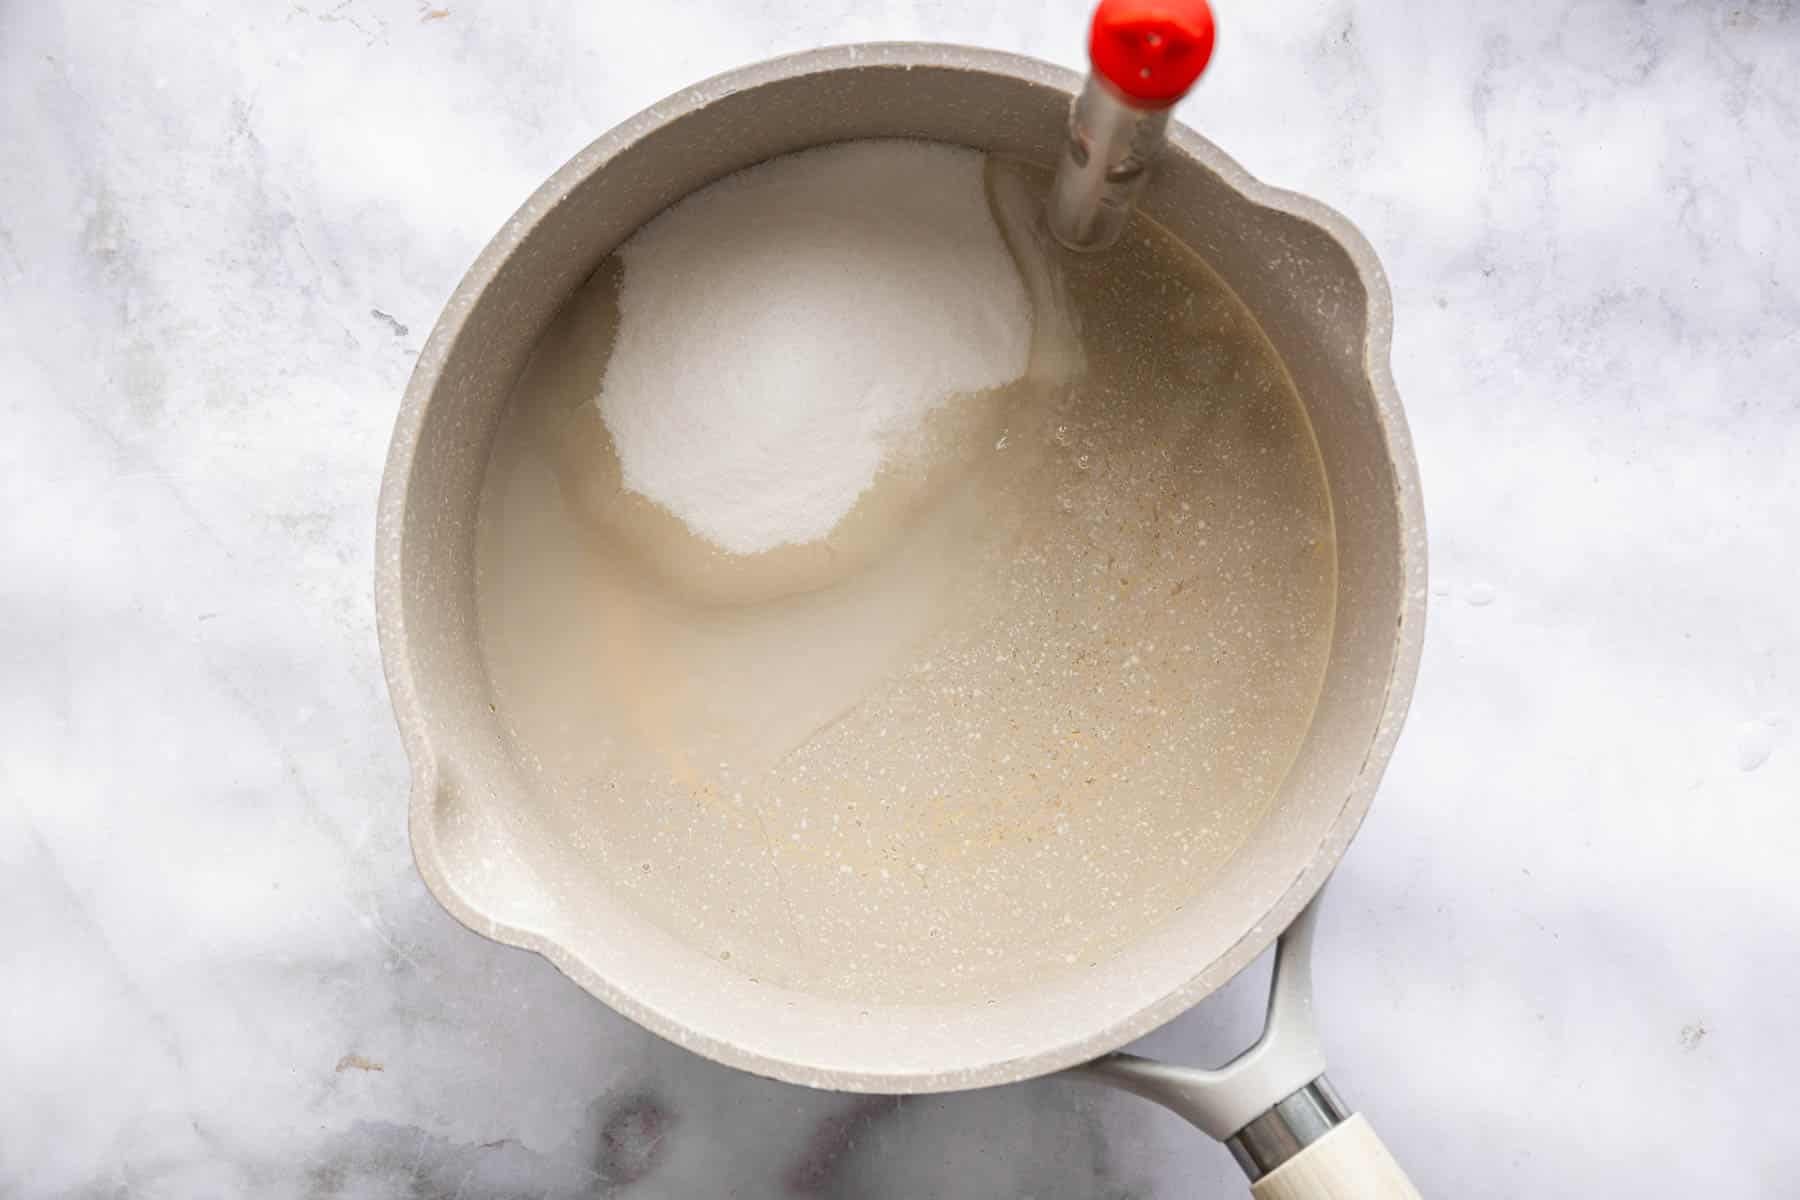
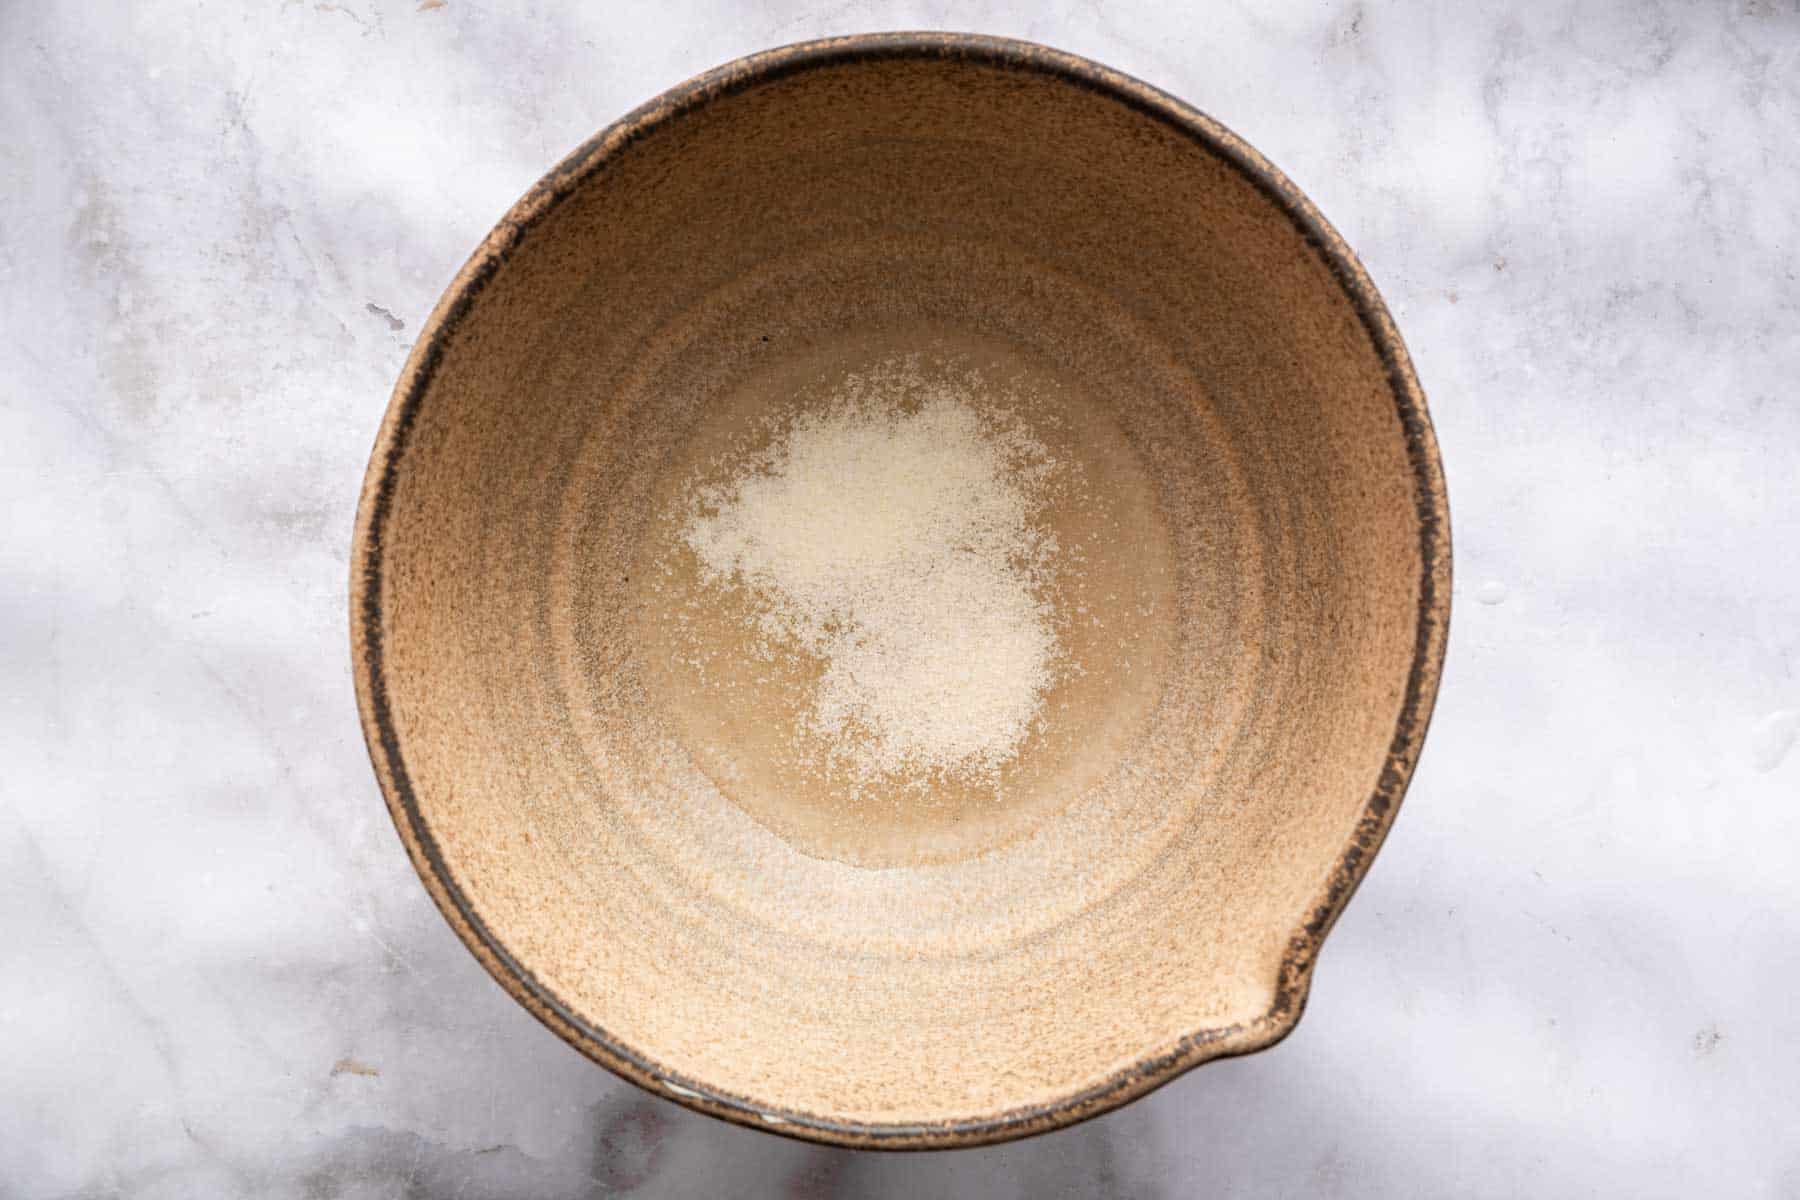
In a deep sauce pan, stir together the sugar, corn syrup, salt, and 3 tablespoons of the water. Turn the heat to high and bring to a boil without stirring. Clip a candy thermometer to the edge of the pan, and boil until it reaches 238-degrees Fahrenheit.
When the sugar mixture is about half-way to 238-degrees, add the remaining 3 tablespoons of water to a large bowl and sprinkle the gelatin on top. Let sit for a few minutes without stirring. This is called ‘blooming the gelatin.’
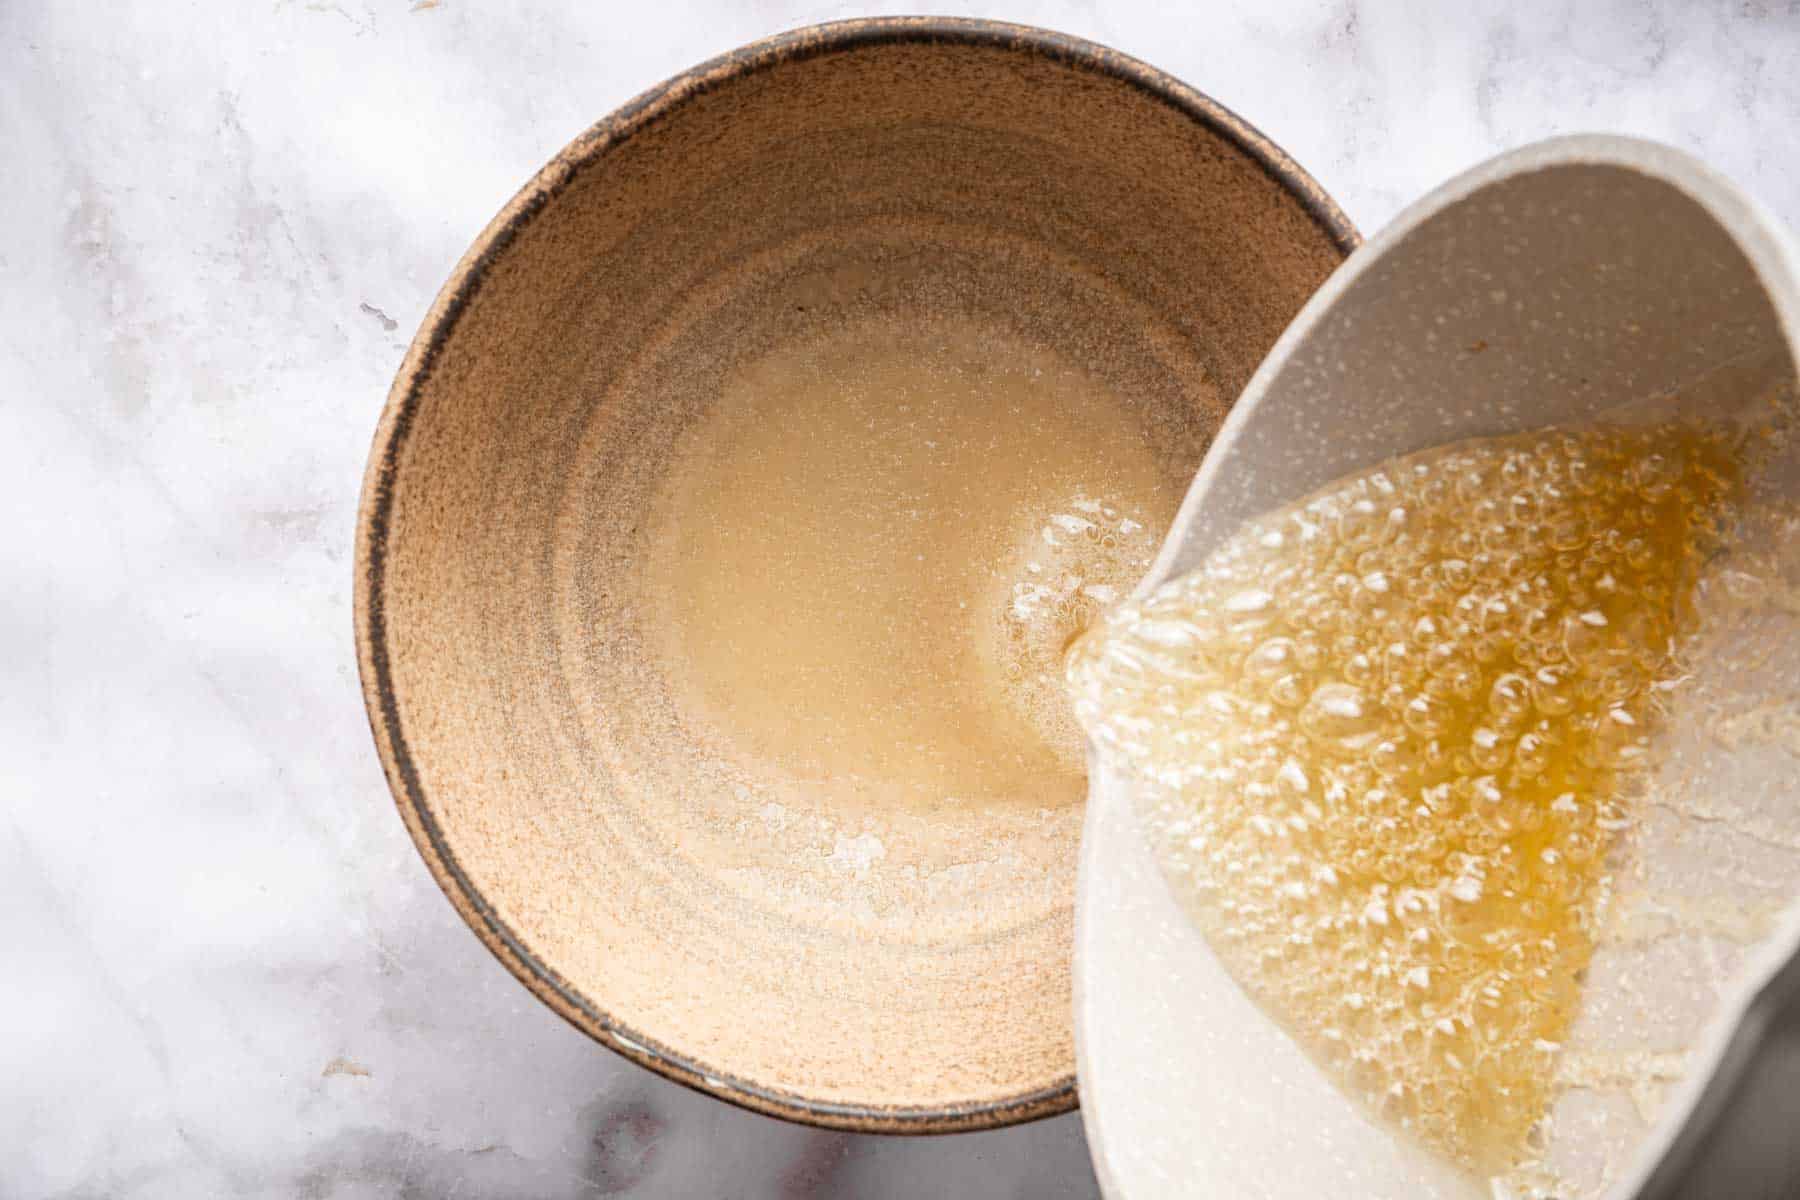
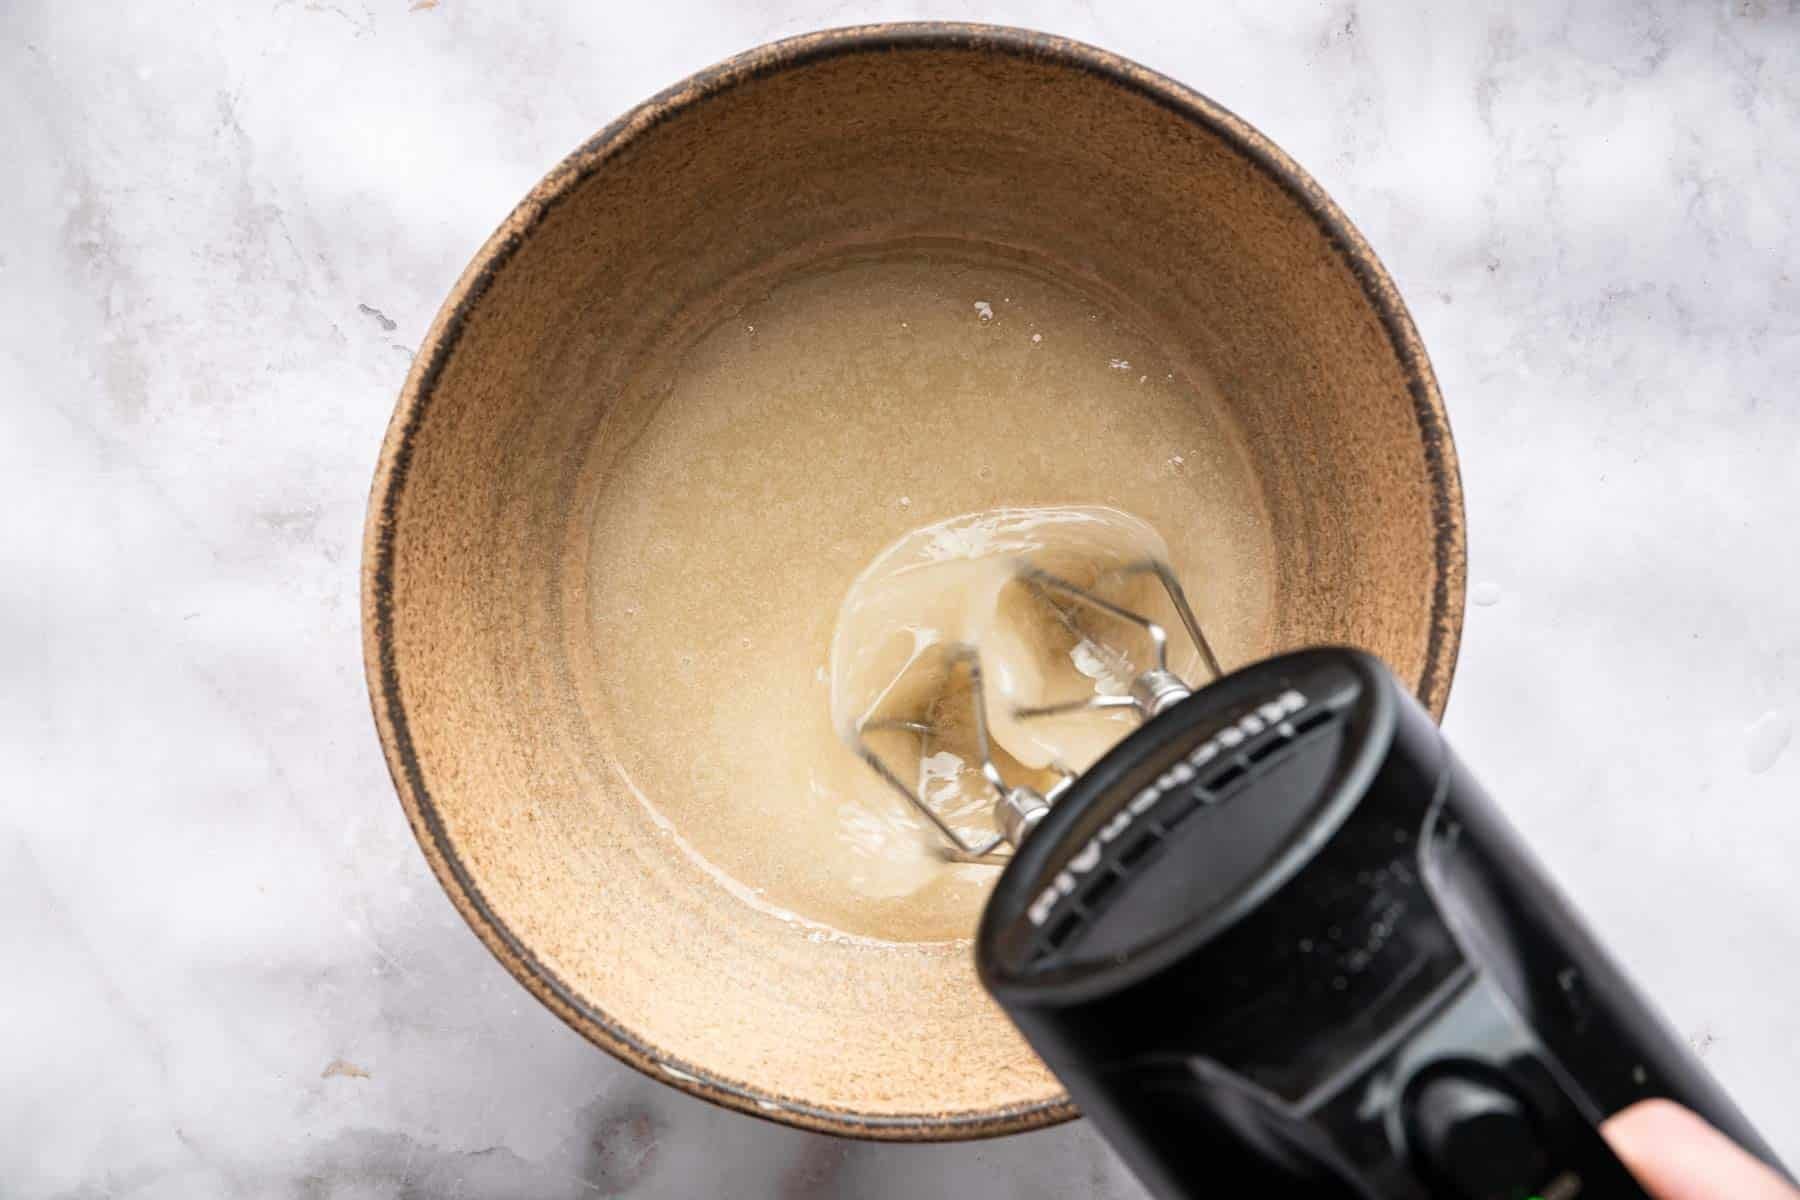
When the sugar syrup reaches 238, turn off the heat. Immediately, begin to stream it SLOWLY into the gelatin mixture while constantly beating with a hand mixer (not a stand mixer). Do not splash the syrup on the edges of the bowl, or it will harden immediately. Go slow, and take your time.
Continue beating for a full 10 minutes. It will change in color and texture! See photos for reference.
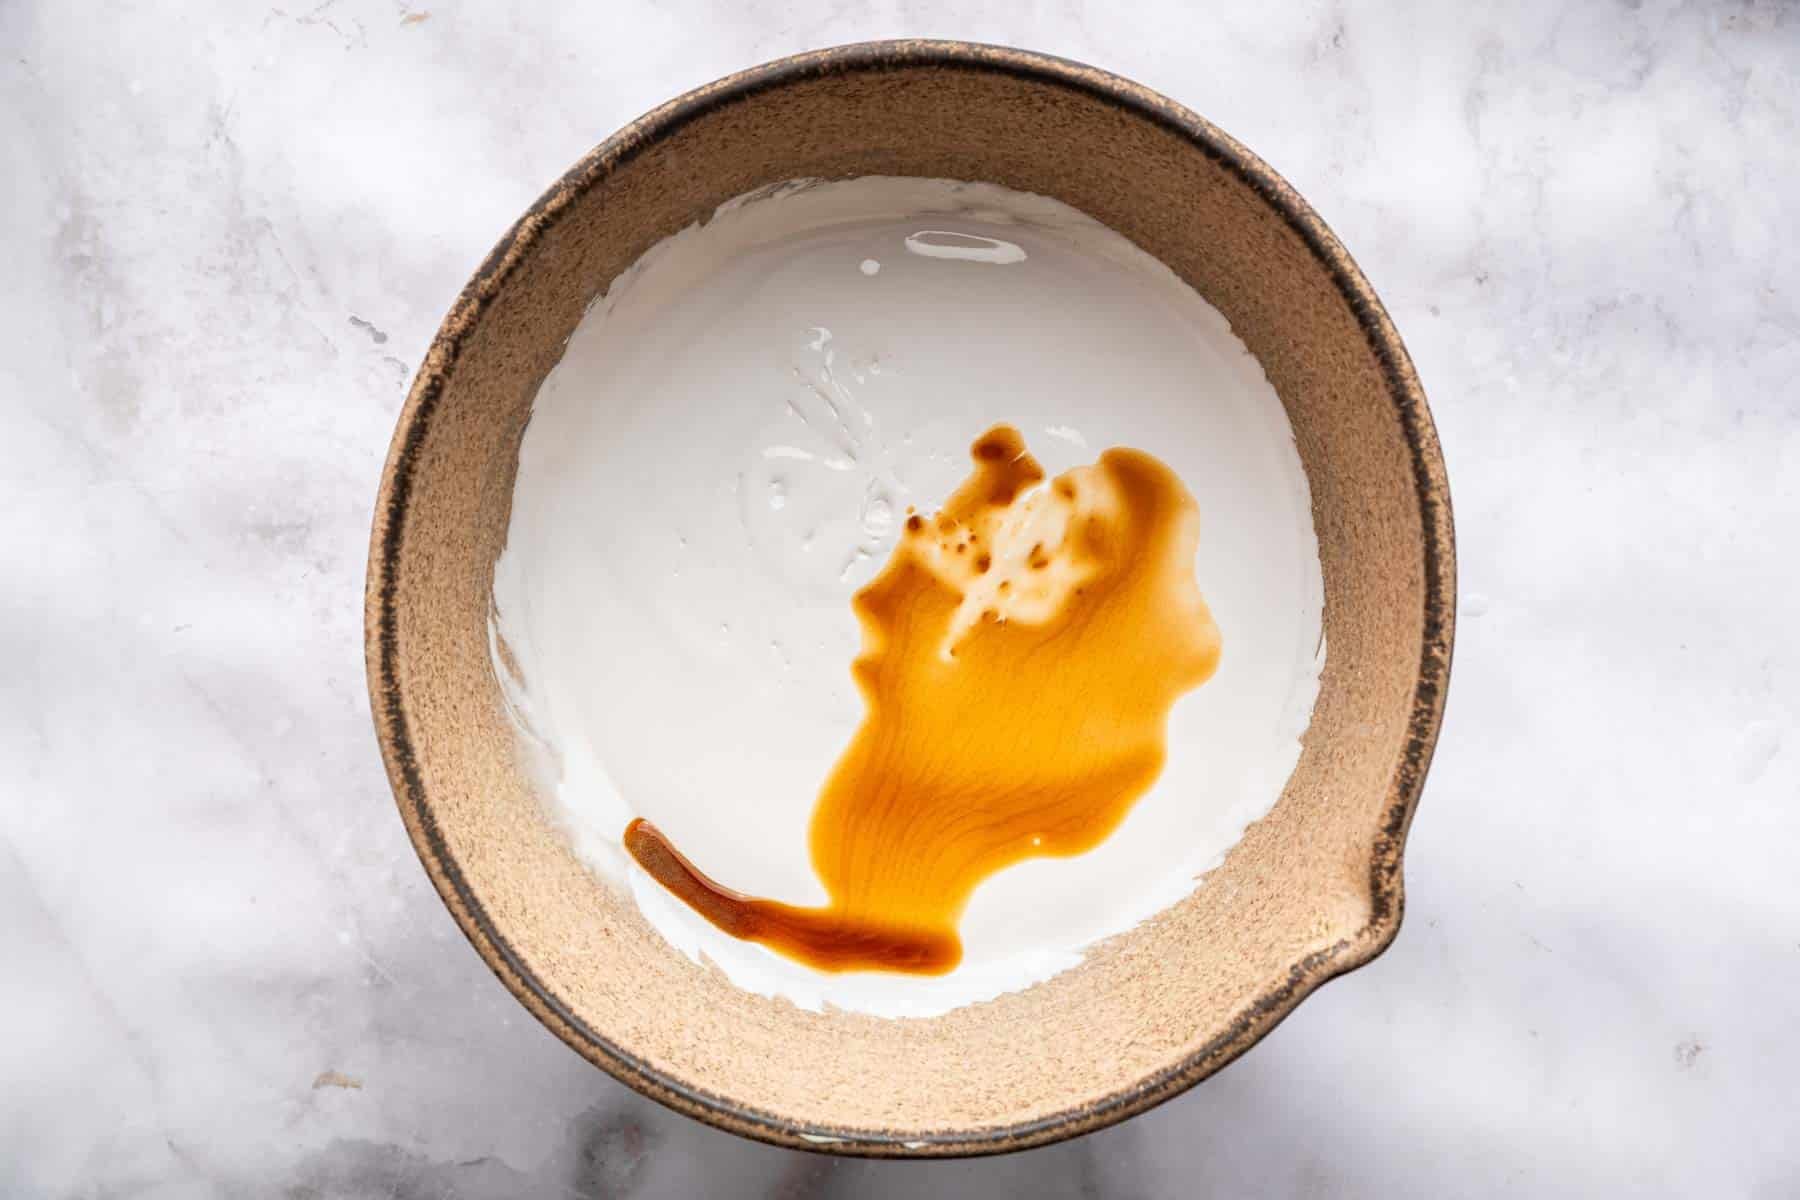
After the 10 minutes, stir in the vanilla extract, and mix until combined.
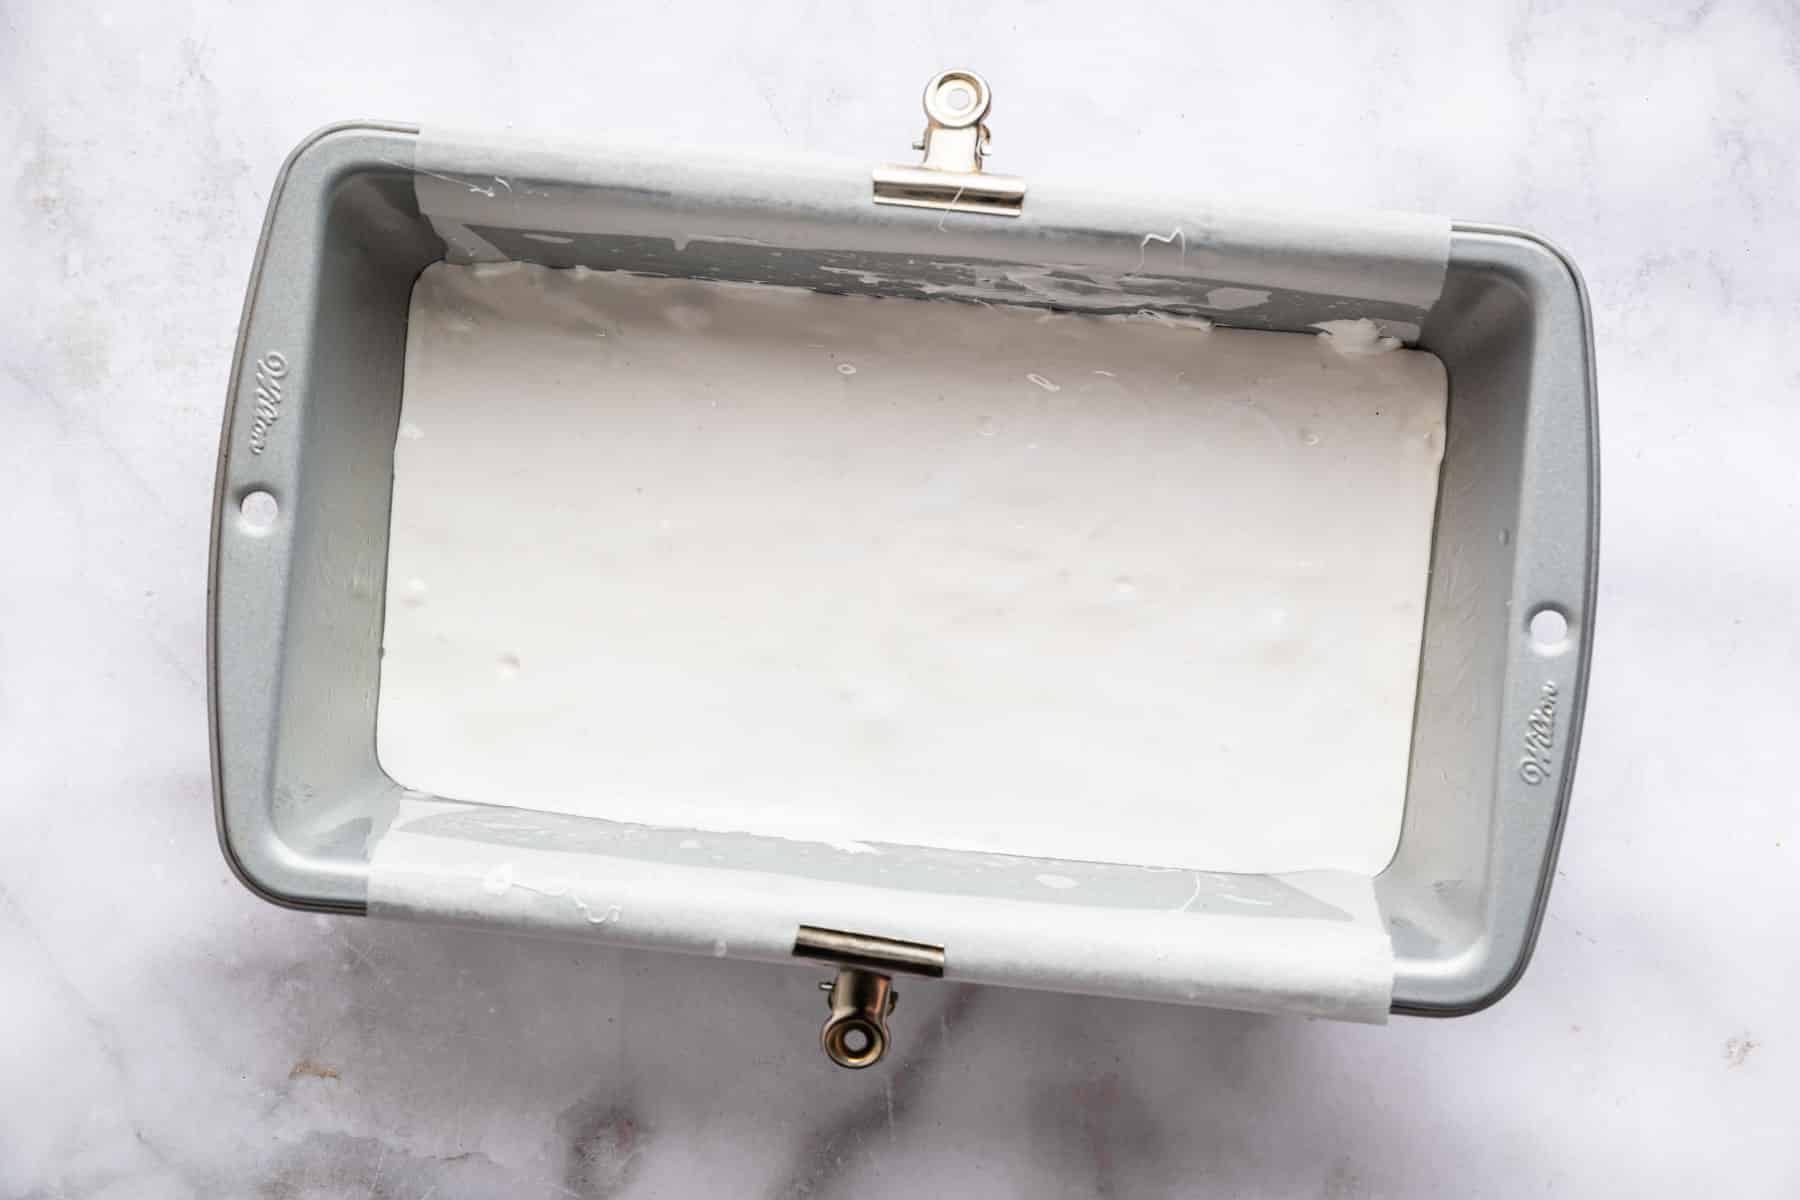
Spread the mixture into a 9 x 5″ loaf pan that has been lined with parchment paper and greased very well with either cooking spray, butter or oil. Let the mixture set uncovered for at least 3 hours.
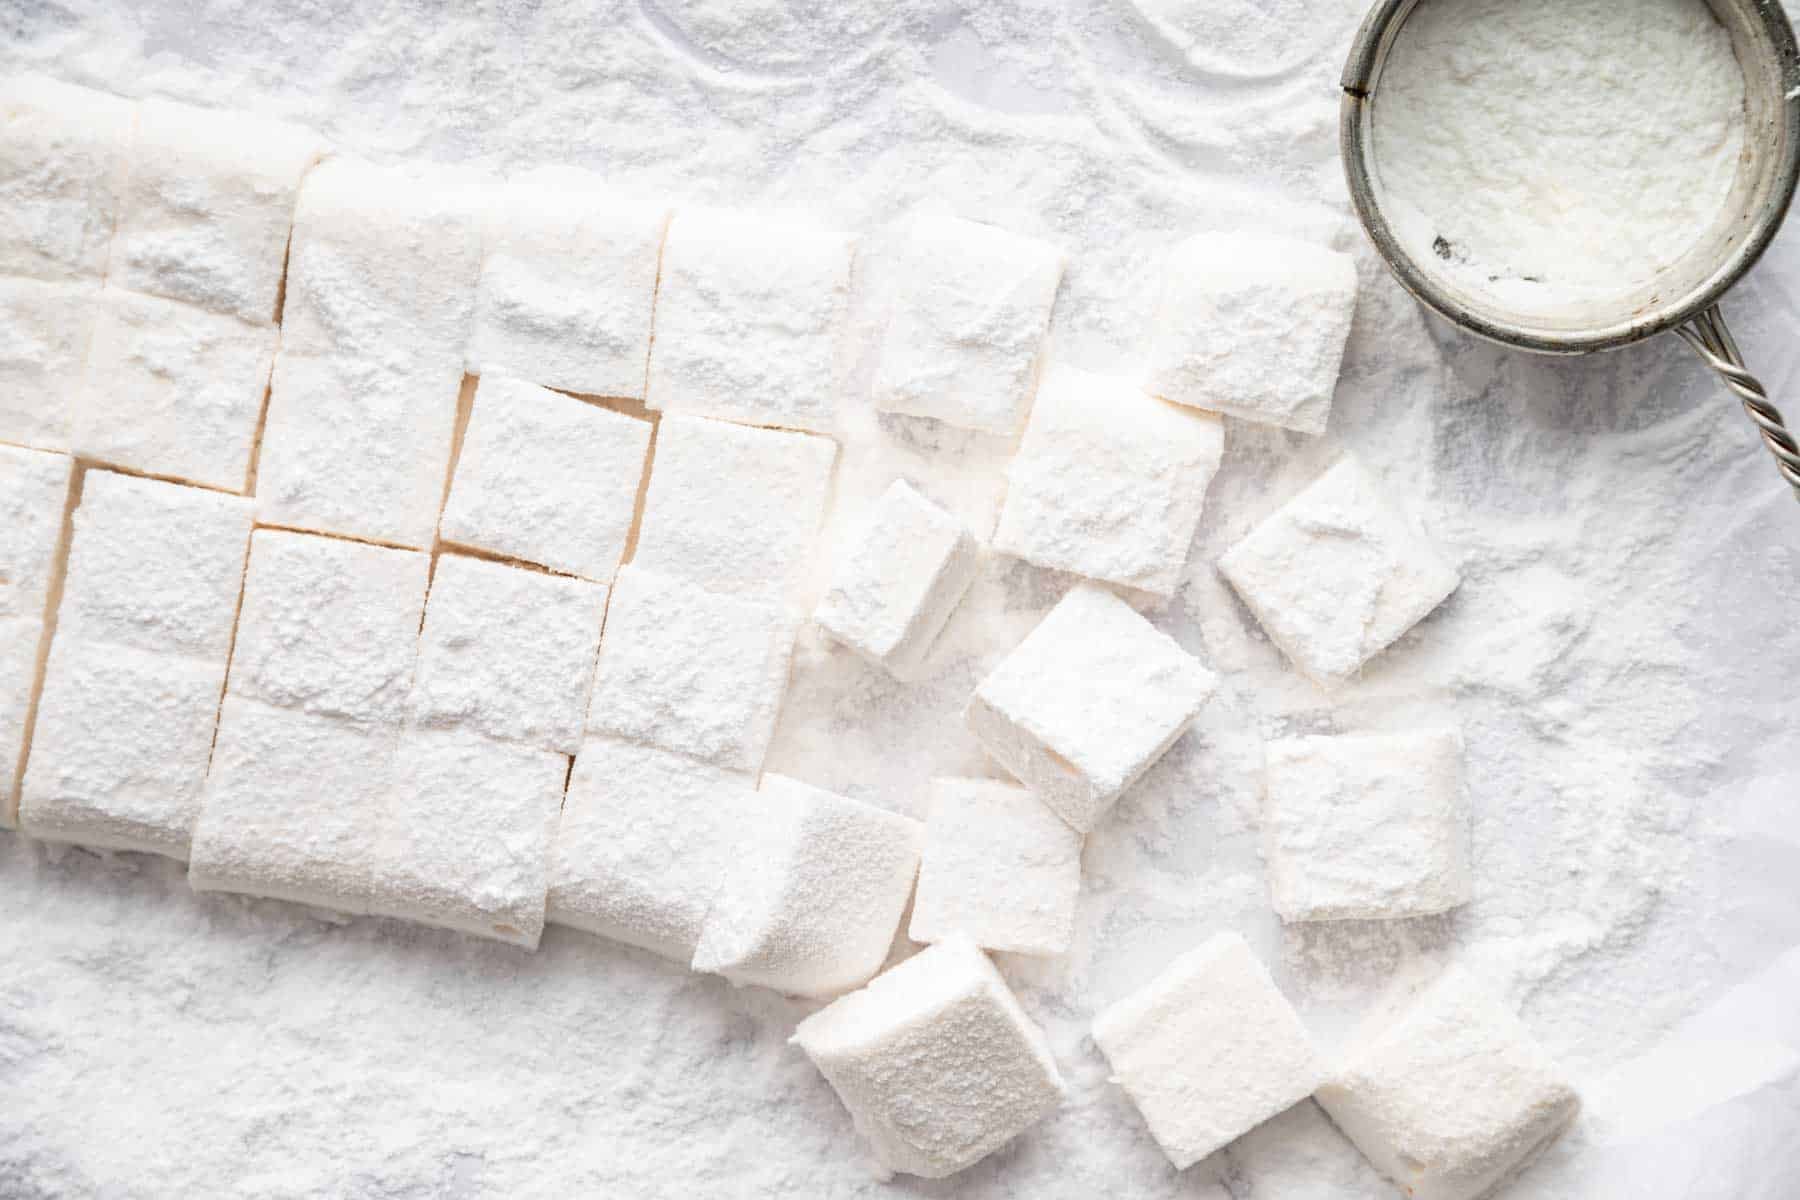
When ready to cut, sprinkle the powdered sugar on a work surface. Dump the marshmallows out on the surface, and slice while dipping the knife in powdered sugar between cuts. Roll all of the edges of the marshmallows in the powdered sugar.
How to Store Homemade Marshmallows
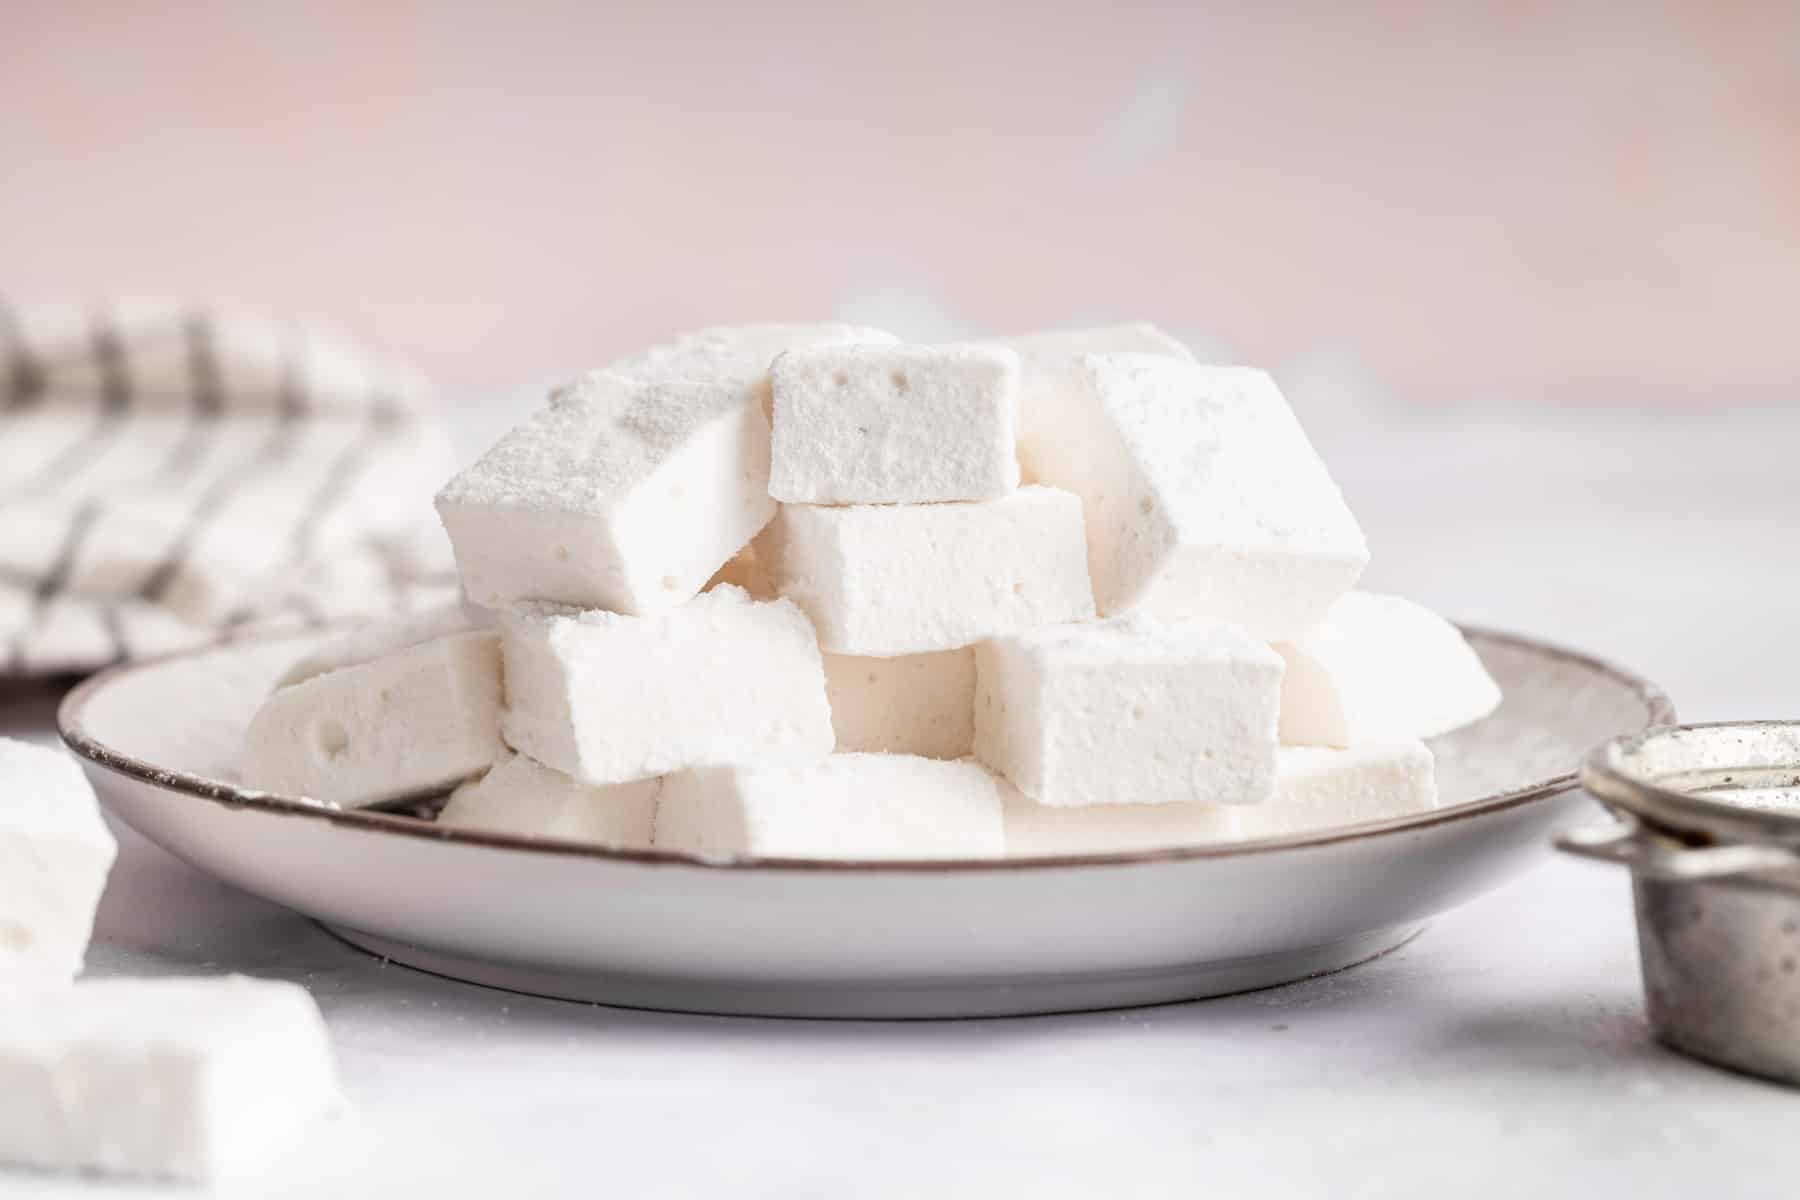
For best results, store marshmallows in an air-tight container at room temperature. They will keep for 2-3 days. This is a little weird, but personally, I like when the outside edges of homemade marshmallows get a little hard after being exposed to air. It makes them taste more similar to store-bought ones. So, I leave the lid off my marshmallow for one day for the ‘skin’ to form, and then I seal them for the remaining few days.
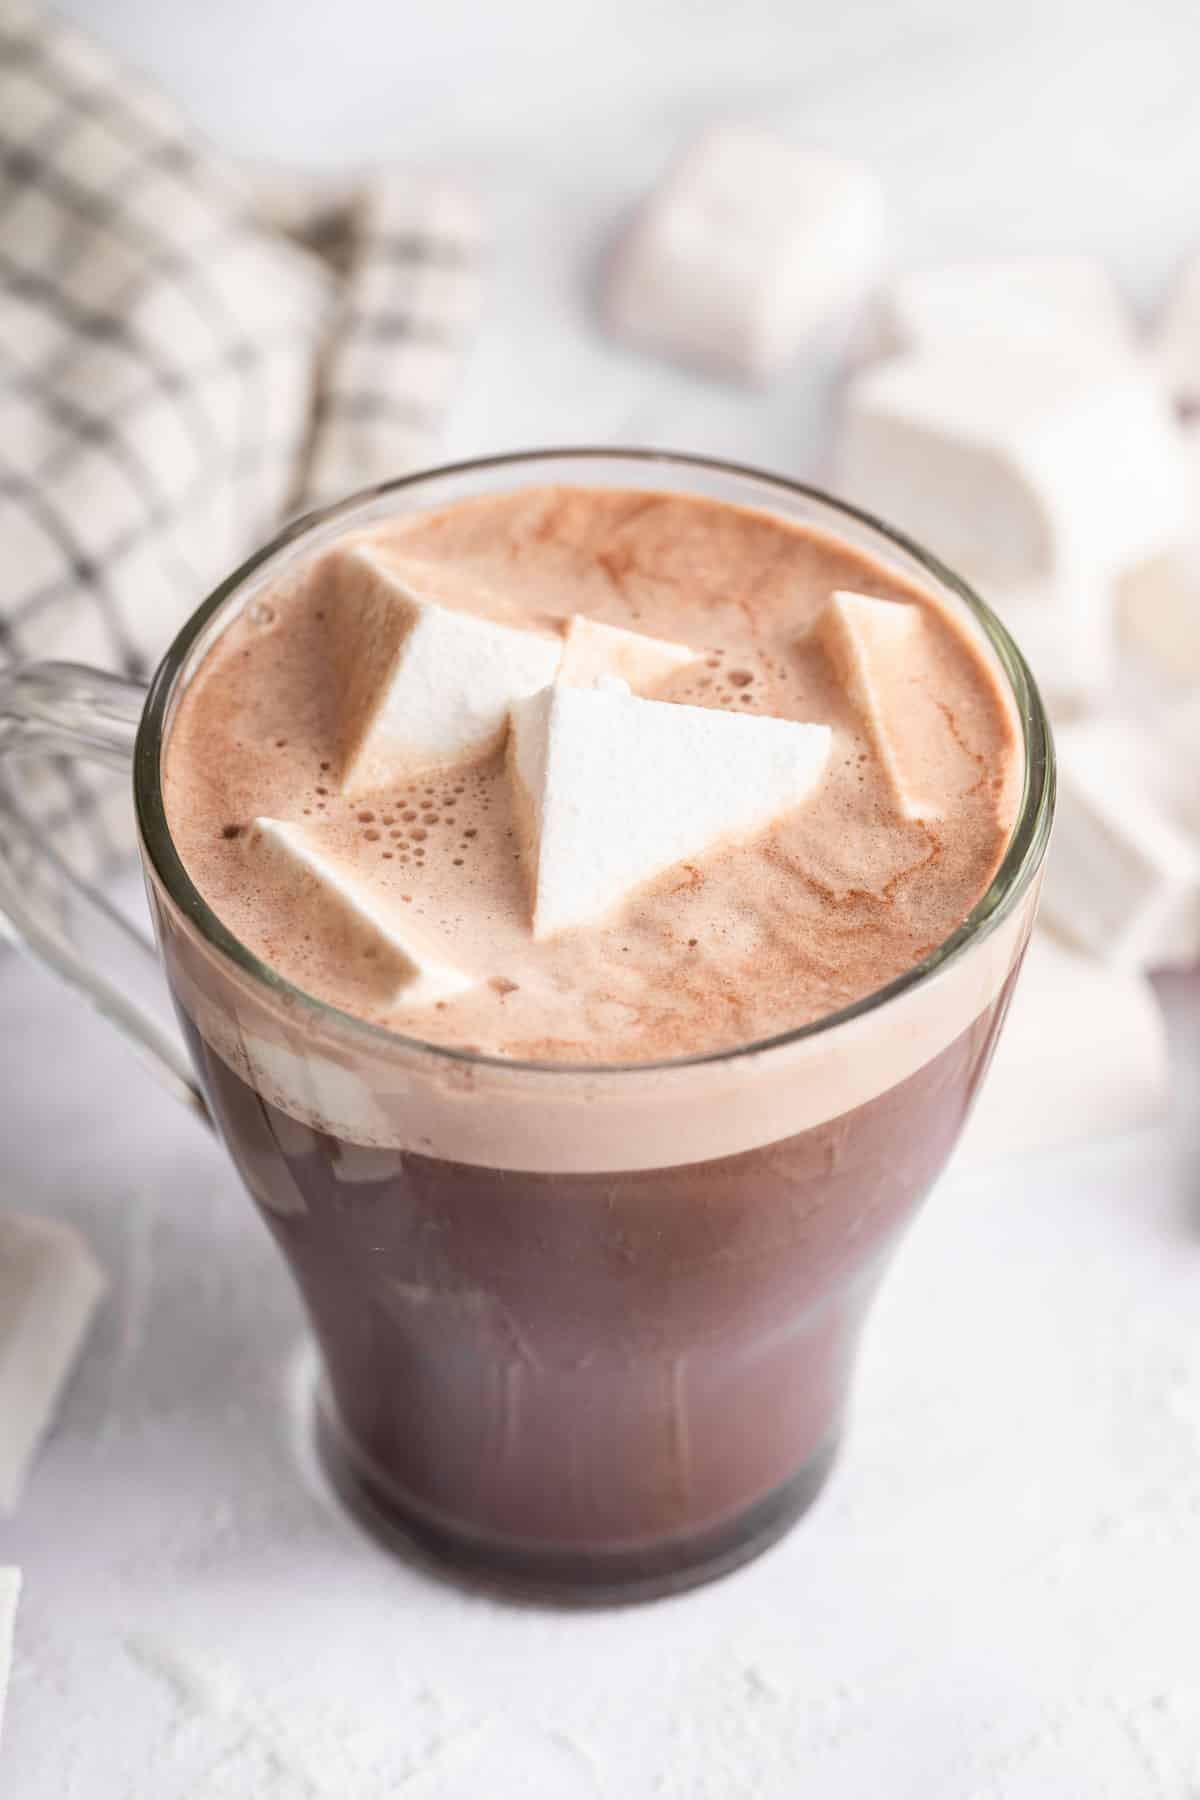
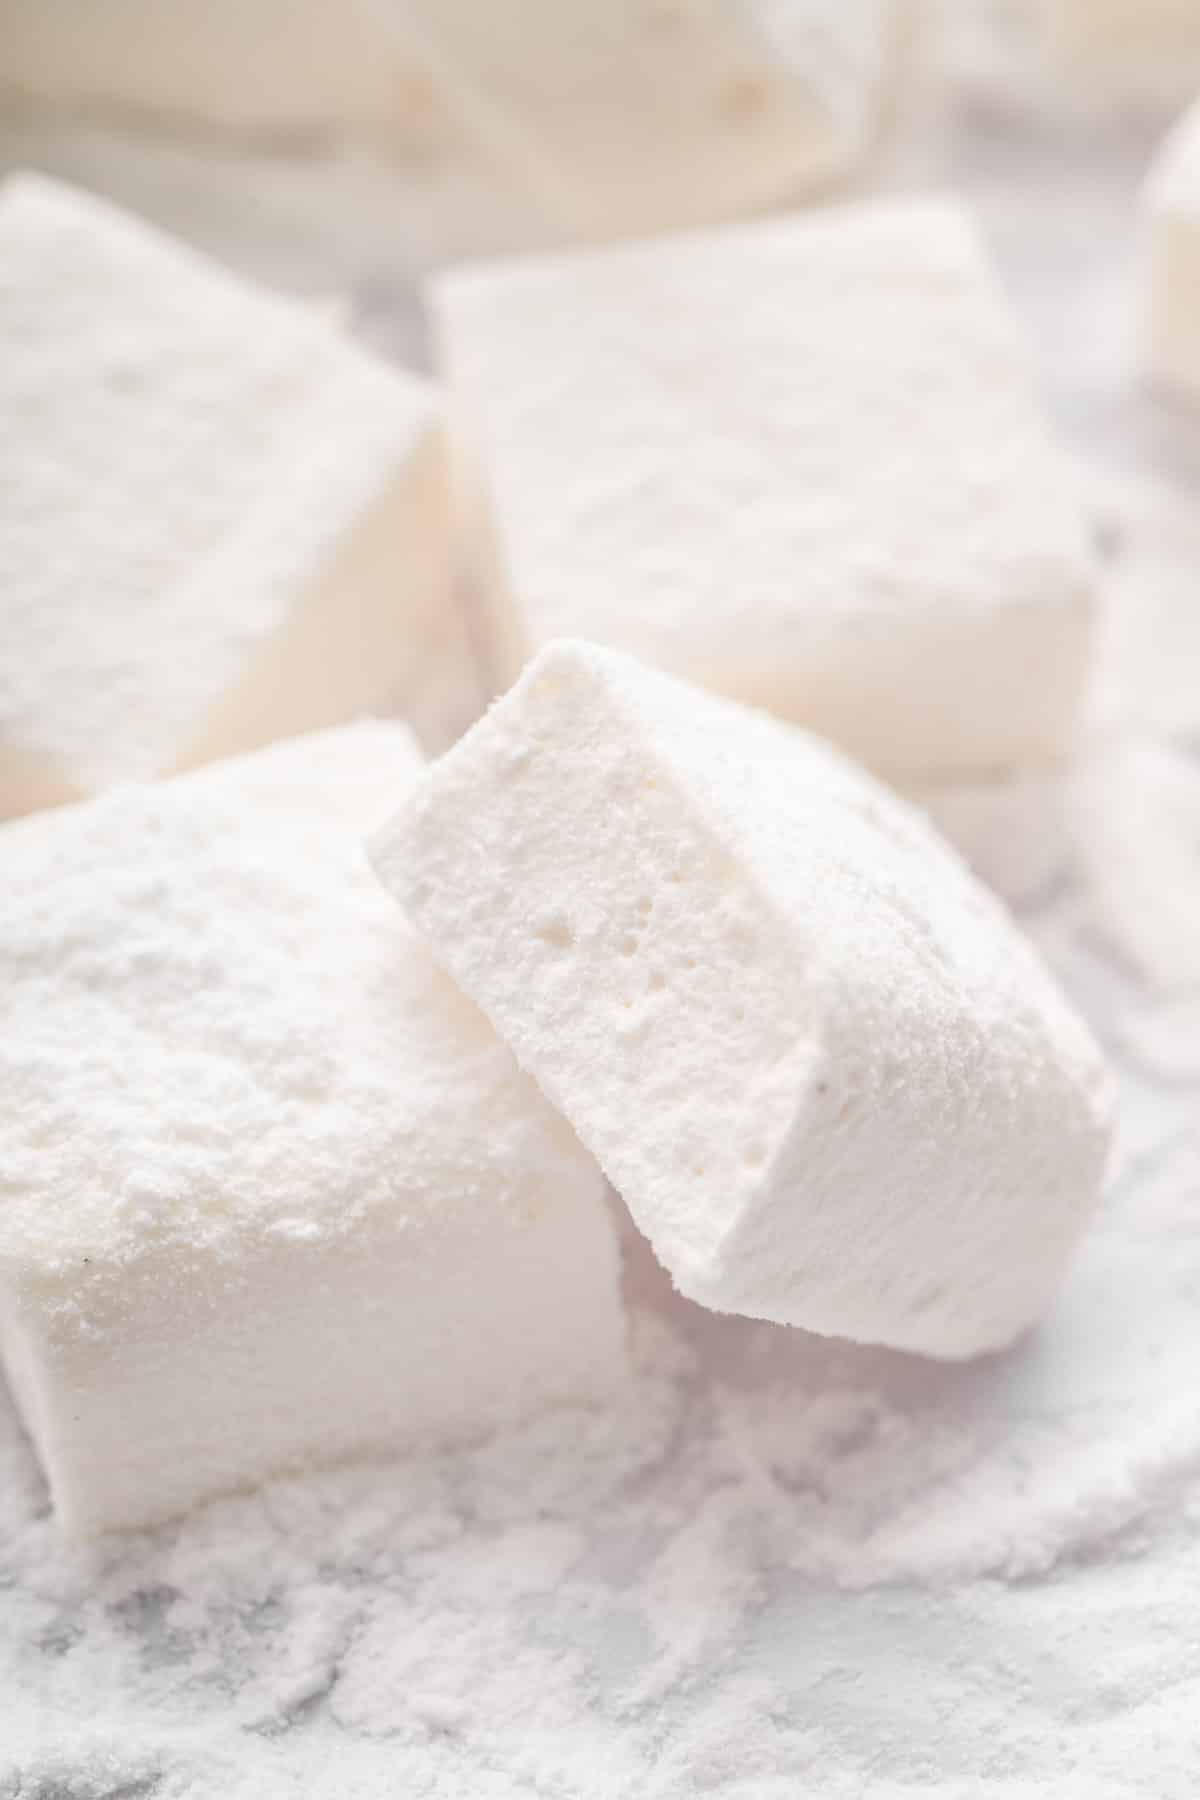
I should mention that homemade marshmallows are much softer than store-bought ones, but you will love the soft, fluffy texture. They’re more similar to a Peep, if you like those weird little Easter candies. They also melt faster in hot cocoa, just a heads up.
Homemade Marshmallows

Make a small batch of homemade marshmallows!
Ingredients
- 3/4 cup granulated sugar
- 1/3 cup light (clear) corn syrup
- pinch of salt
- 6 tablespoons cool water
- 1 packet (2 1/2 teaspoons) unflavored gelatin powder
- 1/2 teaspoon vanilla extract
- 3/4 cup powdered sugar
Instructions
- Line an 8 or 9-inch loaf pan with parchment paper, and spray with nonstick spray.
- In a medium sauce pan, stir together the granulated sugar, corn syrup, salt, and 3 tablespoons of the water. Turn the heat to high and bring to a boil without stirring. Clip a candy thermometer to the edge of the pan, and boil until it reaches 238-degrees Fahrenheit.
- Meanwhile, add the remaining 3 tablespoons of water to a large bowl and sprinkle the gelatin on top. Let sit for a few minutes without stirring.
- When the sugar syrup reaches 238, slowly begin to stream it into the gelatin mixture while constantly beating with a hand mixer (not a stand mixer). Do not splash the syrup on the edges of the bowl, or it will harden immediately. Go slow, and take your time.
- Beat the mixture for a full 10 minutes.
- Stir in the vanilla extract, and mix until combined.
- Spread the mixture into the loaf pan.
- Let the mixture set uncovered for at least 3 hours.
- When ready to cut, sprinkle the powdered sugar on a work surface. Dump the marshmallows out on the surface, and slice while dipping the knife in powdered sugar between cuts. Roll all of the edges of the marshmallows in the powdered sugar.
- Store the marshmallows in an air-tight container at room temperature. They will keep for 2-3 days.
Notes
Nutrition Information:
Yield:
8Serving Size:
1Amount Per Serving: Calories: 216Total Fat: 0gUnsaturated Fat: 0gSodium: 9mgCarbohydrates: 54gSugar: 54gProtein: 1g


Hey Christina, all your recipes are good. Sometimes i thought why i couldn’t be so creative while cooking. The marshmallows is looking perfect! I didn’t try this before.thanks for sharing this.your tips will help me to make that correctly. Keep posting this type of recipes.. :)
Love that I found this recipe because my boyfriend doesn’t eat sugar; its nice to have a recipe that I don’t have to half or manipulate!
I don’t have a hand mixer, so despite the warning against a stand mixer, it was my only option. I just beat it at a lower speed until I poured all of the hot sugar in. I did have a lot of hard stuff on the sides, but it wasn’t THAT bad. I would just maybe make a tiny bit more of the sugar mixture to make up for what I lost on the sides that got hard. My only issue was that I wasn’t able to nicely smooth the mallow into the pan. Do you have any tricks for that? It wasn’t lumpy, but it certainly wasn’t a nice smooth surface.
It sounds like you did great! Next time, though I know it’s a pain, try lifting up the stand mixer head as you add small amounts of the hot sugar. That might help you not splash on the sides and get the hard crunchy pieces! I’m so glad you tried the recipe anyway, and it worked, though!
Oh man, as for the stickiness when spreading–isn’t it nuts! Try using a silicone spatula that is sprayed lightly with cooking spray. Good luck :)
Hi! Why shouldn’t you use a stand mixer to make these?
I covered this in the post. Because the beaters don’t touch the small amount of mixture in the bowl. Big bowl + very little mixture .